This post contains affiliate links. If you make a purchase from one of the links, I may earn a commission at no extra cost to you.
How to Reupholster Dining Chairs with Fabric and Vinyl (Tutorial)
Reupholstering dining chairs is almost inevitable in our home. Learning to reupholster dining chairs with fabric AND vinyl has been a lifesaver. I’m sure you can relate if you have kids, pets, and many guests and visitors.
However, even if you don’t have little ones, dining room chairs’ natural wear and tear is almost often unavoidable.
So, instead of buying a new set of dining room chairs, why not reupholster your existing ones for a small cost?
Or, what’s even better… why not purchase a set of chairs at a local garage sale for a fraction of the cost and spruce them up?
Why reupholster dining chairs on your own?
- Save money
- Give them a new stylish look
- Make them look brand new again
- Add clear vinyl to protect the fabric from spills and stains
Upholstering and Reupholstering Dinning Chairs Options
OPTION 1: Add transparent vinyl only
If you recently bought new dining chairs and want to protect the existing fabric, you might want to add clear vinyl.

Clear vinyl adds a protective cover which protects your current dining chair’s fabric making it a breeze to clean up any spills.
You do so by following the instructions included in this tutorial, except taking off the existing fabric.
OPTION 2: Reupholster with new fabric and vinyl
If you are looking to reupholster your dining room chairs with new fabric and protective clear vinyl, then this tutorial will walk you step by step on how to do that.

OPTION 3: Reupholster with new fabric only
To reupholster your dining chairs using only the new fabric, follow the step-by-step instructions below and skip the steps for the vinyl applications.
Your choices for fabric only reupholstery include:
Alright, let’s get started…
Reupholstering Dining Chairs Steps
(with Vinyl and Fabric)

Materials:

- Upholstery Fabric
- Clear Vinyl (6 Gauge)
- Staple Gun and Staples
- Staple Remover
- Phillips Screwdriver
- Fabric Scissors
- Permanent Marker
Special considerations:
The measurements of this tutorial are based on four standard dining room chairs with seat cushions measuring 18 x 18 inches. Ensure you measure your chairs correctly to buy enough fabric and vinyl material.
For a complete dining room chair transformation if the chair itself is scratched or stained, consider sanding it down and giving it a fresh coat of paint.
Rule of Thumb Measurements
4- 18 x 18 inch chairs= 1 1/2 yards of fabric and 1 1/2 yard of clear vinyl
6- 18 x 18 inch chairs= 2 1/3 yards of fabric and 1 1/3 yard of clear vinyl
STEP 1: Unscrew the chair cushion
Flip the chair over and place it on top of the table or any high working surface.
Locate the screws that are being used to keep the chair in place. They are NOT the corner screws. Look at the image below and notice the placement of the correct screws.

Unscrew them, and put them in a safe place (I’ve lost a few screws in my day! Lol). Or, you can choose to leave them in place if you keep the chair upside down as you work on the cushion.
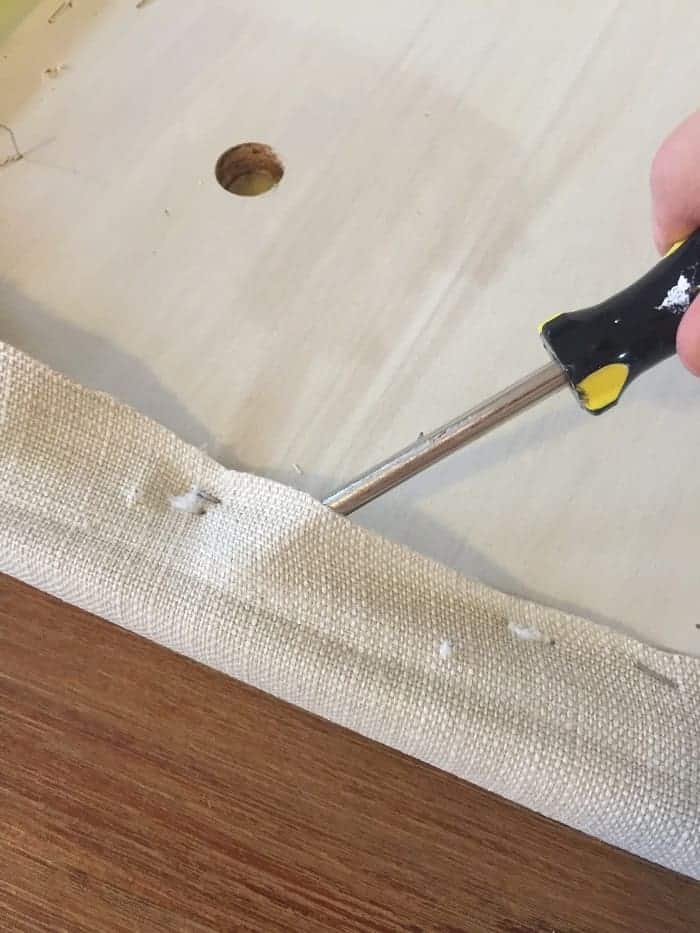
STEP 2: Remove existing fabric
Note: If you are only applying clear vinyl, you don’t need to follow this step, as you won’t be removing the existing chair fabric.
If however, you will be upholstering your dining room chairs, then you will have to strip out your chair’s old fabric.
You can do that two ways:
1. You can use a staple remover to remove existing staples.

2. Or you can place a screw driver under the fabric lining and pull up… that momentum will help rip the old fabric and staples all at once.
You can also opt to keep the old fabric in place and staple the fabric over the new one. However, in most instances, the upholstery fabric is too bulky to place on top of the existing fabric. Especially if you are adding a layer of vinyl.
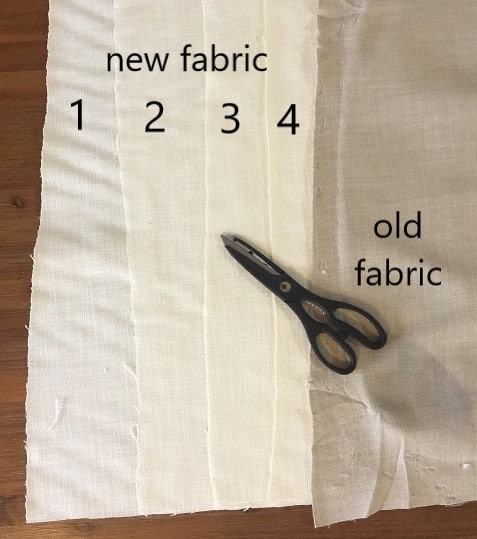
Note: Try to keep the the old fabric intact. You can use it as a measuring guide to trace your new fabric and vinyl.
STEP 3: Measure your Fabric and Vinyl
If you kept your old fabric, use it to trace both your new fabric and vinyl.


To save time, I like to measure my new fabric and vinyl covers at the same time.
If don’t have the new fabric as a guide, simply place the chair cushion on top of the new fabric and measure out 3 inches more than the actual measurement on all four sides.
That will ensure we have enough material to fold in all four sides as you staple it in.
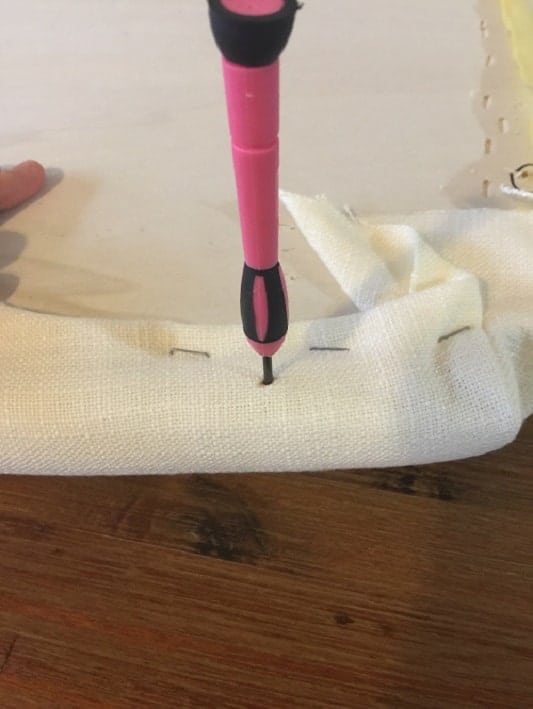
STEP 4: Fold and staple your new fabric
Before we start stapling the new fabric, I like to circle the existing opening where the screws go so that when I staple the new fabric and vinyl, I leave the screw opening exposed.
This step isn’t critical, but it makes it easier when is time to screw in the seat cushion to the chair.

Now, is time to fold in the fabric and staple. You can go about it different ways.
I like to fold in the corners first so that I can get a tight grip.
Then, I do parallel sides so that I can make sure to stretch out any wrinkles.
Again, identifying and indenting your screw openings is a good idea. I use a small screwdriver.
Step 5: Fold and Staple your Vinyl
Once the chair cushion is fully reupholstered with fabric, it is time to add the clear vinyl.
Follow the exact same steps as with the fabric.

Make sure to pull tightly as you staple to remove any wrinkles.
STEP 6: Screw chair cushion
Now that you have reupholstered your dining room chair cushions with new fabric and protective clear vinyl, it is time to screw it back in place.
It can be a bit tricky to screw the cushion back in place because of the new fabric. So, here are a few tips to help you through this last step:
1. With the cushion upside down, place the chair on top of it.
2. Push the chair cushion back against the chair to help the new fabric and vinyl take the shape of the chair.
3. Visually locate the screws and the screw opening, ensuring they are parallel to each other.
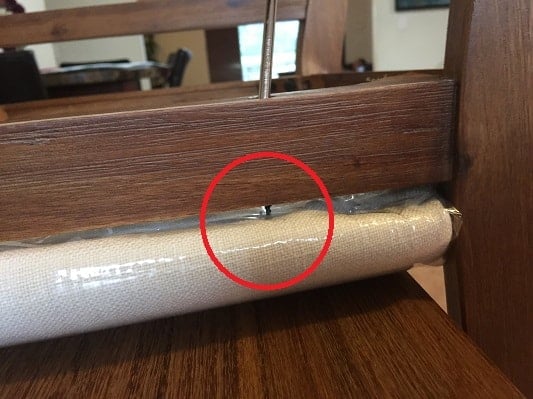
4. Finally, screw down all screws with enough force to brake through the new fabric and vinyl if necessary.
Once all screws are in place, give it a good shake making sure the chair cushion is secure… and voila!
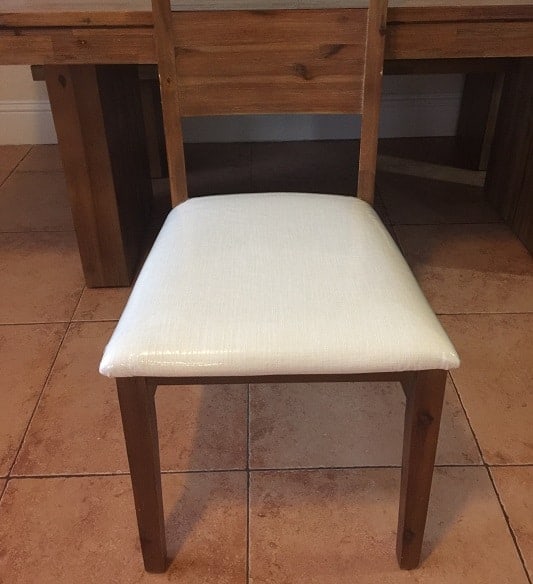
You got yourself a brand new dining chair for a fraction of the cost!
Happy reupholstering, my friend.
Do you have any questions about reupholstering your dining chairs? Leave them in the comments below.
Oh, and… Don’t forget to pin for later.